Showing posts with label Tutorial. Show all posts

Wednesday, 2 August 2017

HOW TO DRAW A WUKONGOPTERUS

Hi folks!

I´m racing towards the finish on my follow up to the dinosaur book from earlier this year. This one, as you perhaps already know, is about pterosaurs and their reptilian marine contemporaries: ichthyosaurs, plesiosaurs and mosasaurs plus a few others. 

One of the brilliant scholars who are helping me getting the sciency stuff right for the upcoming book is pterosaur luminaire Dr. Mark Witton - a well known name in the paleontology community. He´s made a rather flattering piece about my stylised approach to paleoart on his blog, which also includes a lengthy interview with yours truly. 

Head on over to markwitton-com.blogspot.se and have a look. If you're at all interested in paleontology and trailblazing paleoart I wholeheartedly recommend following Marks well written, informative and often highly amusing blog.

To celebrate the upcoming book and unexpected paleontological attention I thought I´d divulge some of the secrets behind my particular brand of paleoart. This techinque just requires a pencil, some copying paper and an eraser. 
Plus of course an iMac computer with a Photoshop license and a Wacom Cintiq tablet...

STEP ONE - RESEARCH

The most important step. We´re not just drawing any old monster here, but reconstructing a real animal that was very much alive at one point in history. I look up the creature I´m about to illustrate in books (I´ve got an extensive reference library at this point) and also by using google, wikipedia, paleontology blogs, academic papers - the more information you can gather the better. What the animal ate, how, where and when it lived is just as important as the basic anatomy when you do a reconstruction.
I also study skeletals and other peoples reconstructions to get a feel for the animal. In this case I chose the basal Chinese pterosaur Wukongopterus as my subject. 

STEP TWO - SKETCH

I do a sketch on paper using an HB pencil on normal A4 copy paper (I personally prefer the slightly heavier 120 g paper). I then scan this loose drawing into my computer.

Sketch

STEP THREE - TWEAKING

I open up the sketch in Photoshop and slightly tweak the sketch. Sometimes I move things around or make features larger and smaller - everything to get the basic anatomy right. In this case it´s hard to see but I used the warp transform tool ever so slightly to accentuate the sprawling posture somewhat.

Tweaked sketch

STEP FOUR - BASIC COLOURS

I put the sketch layer in multiply and create a new layer under it. Using the polygonal lasso tool as much as possible ( to get that special Egerkransian angular feel ) the shapes are blocked in and coloured. The coloration of the animal is pretty much made up as I go along but the aim is always to make it believable so I take a lot of inspiration from birds and other animals. I try not to simply copy paste patterns from living animals onto the reconstruction, but rather use them as starting points for a new unique colour scheme.

Basic colours

STEP FIVE - LINEART

In a new layer on top of the colours the lineart is added. The actual pencil sketch won´t be seen in the final image but I try to stay true to the spontaneity of the loose lines in the preliminary drawing when I do the lineart. I also choose brushes with a little texture to create "nerve" in the lines.

Lineart

STEP SIX - SHADOWS

I createca new multiply layer at 50-60 % opacity and draw in the shadows, often using a greyish violet. The shadows help define the shapes and anatomy of the animal, making it less flat.

Shadows

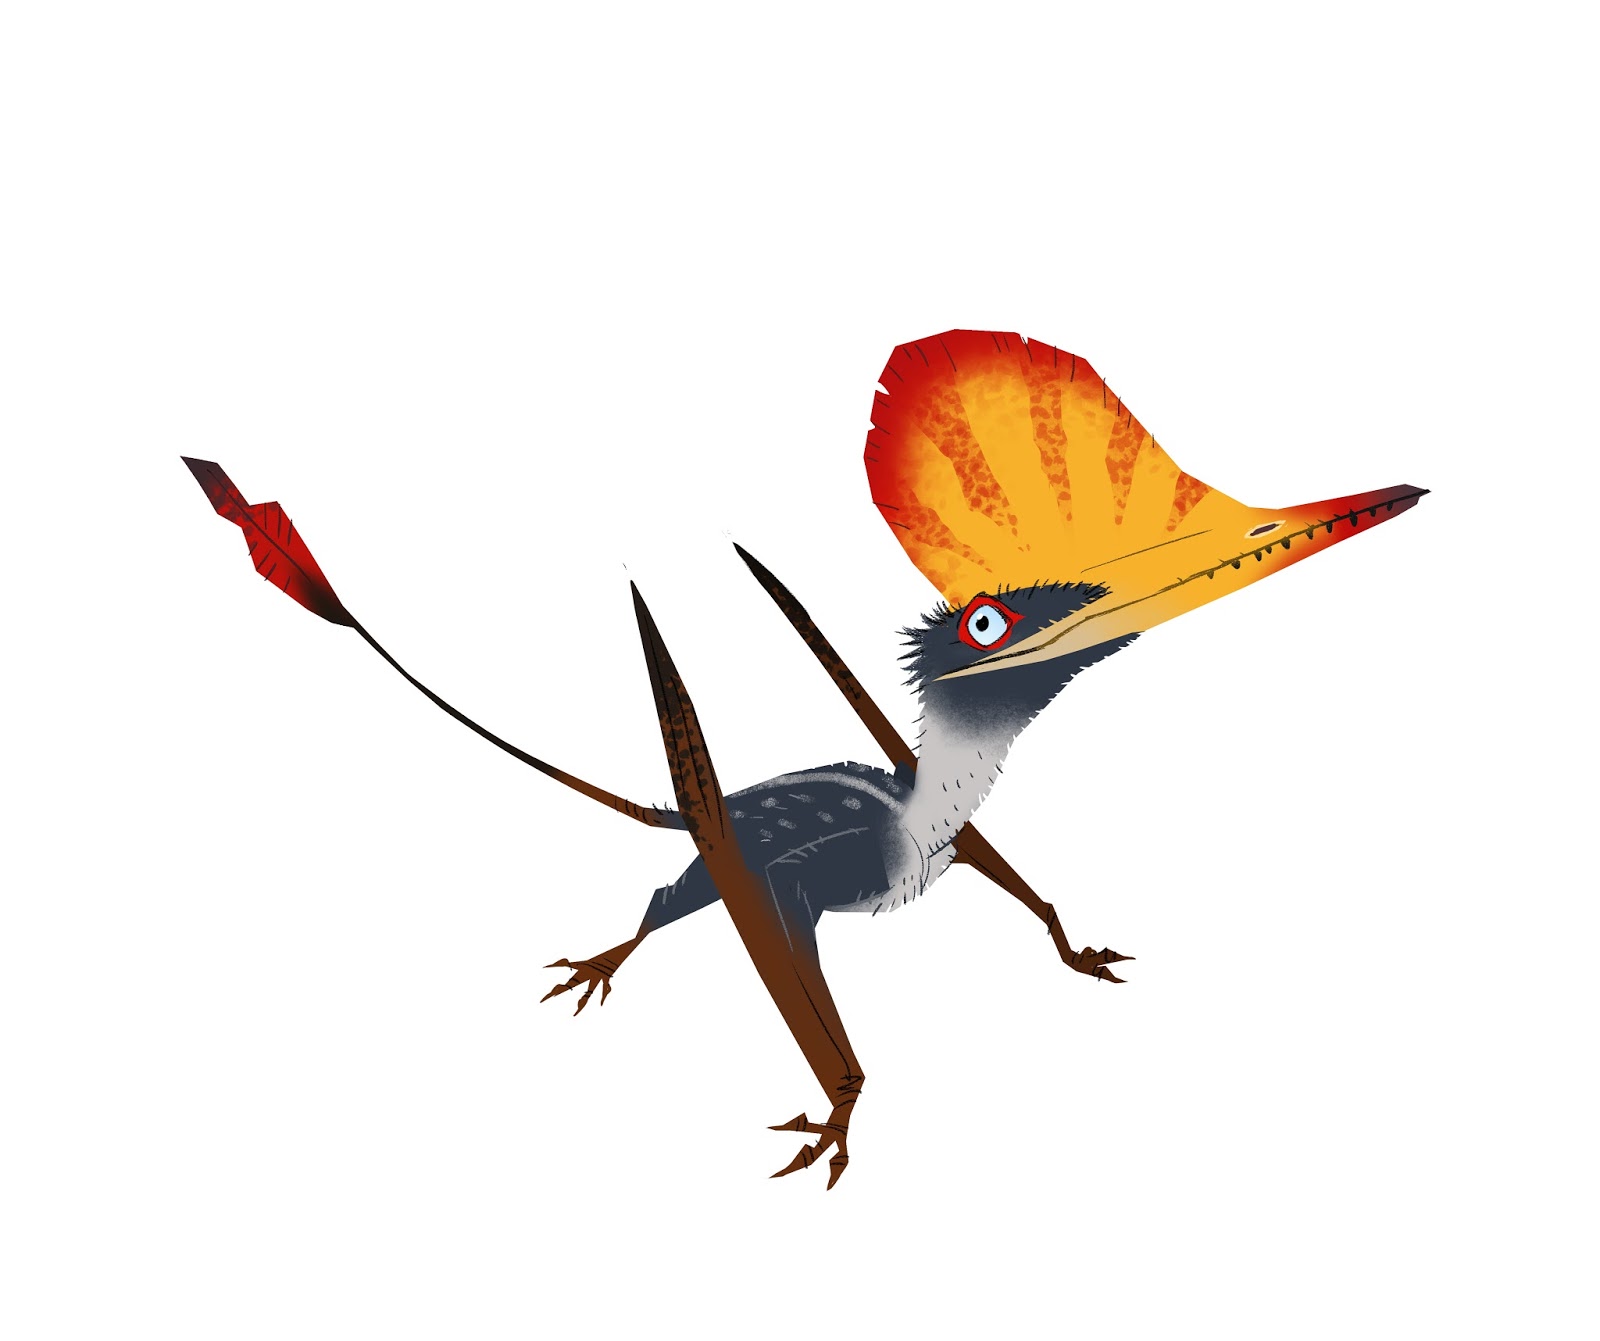
STEP SEVEN - DROPSHADOW

To make it even more three dimensional a grey/cyan dropshadow was added under the pterosaur in this case. 

Dropshadow

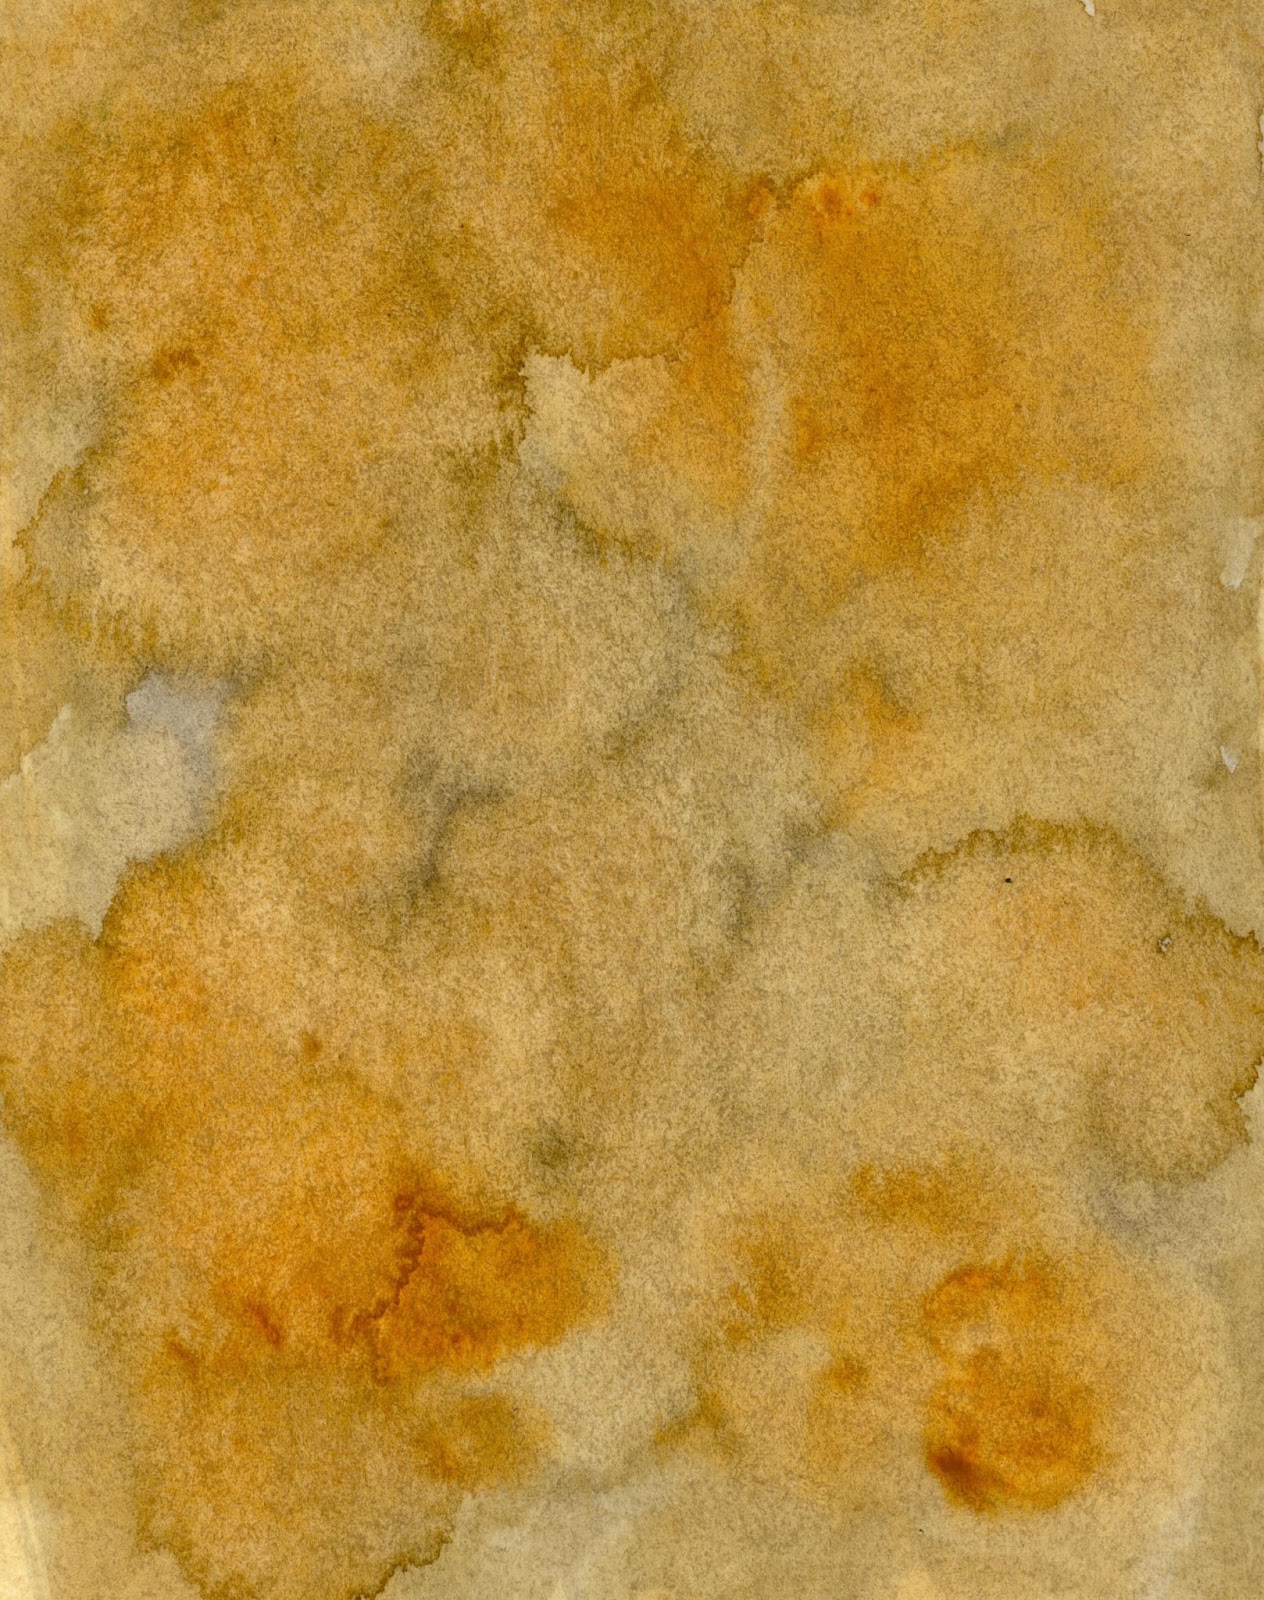
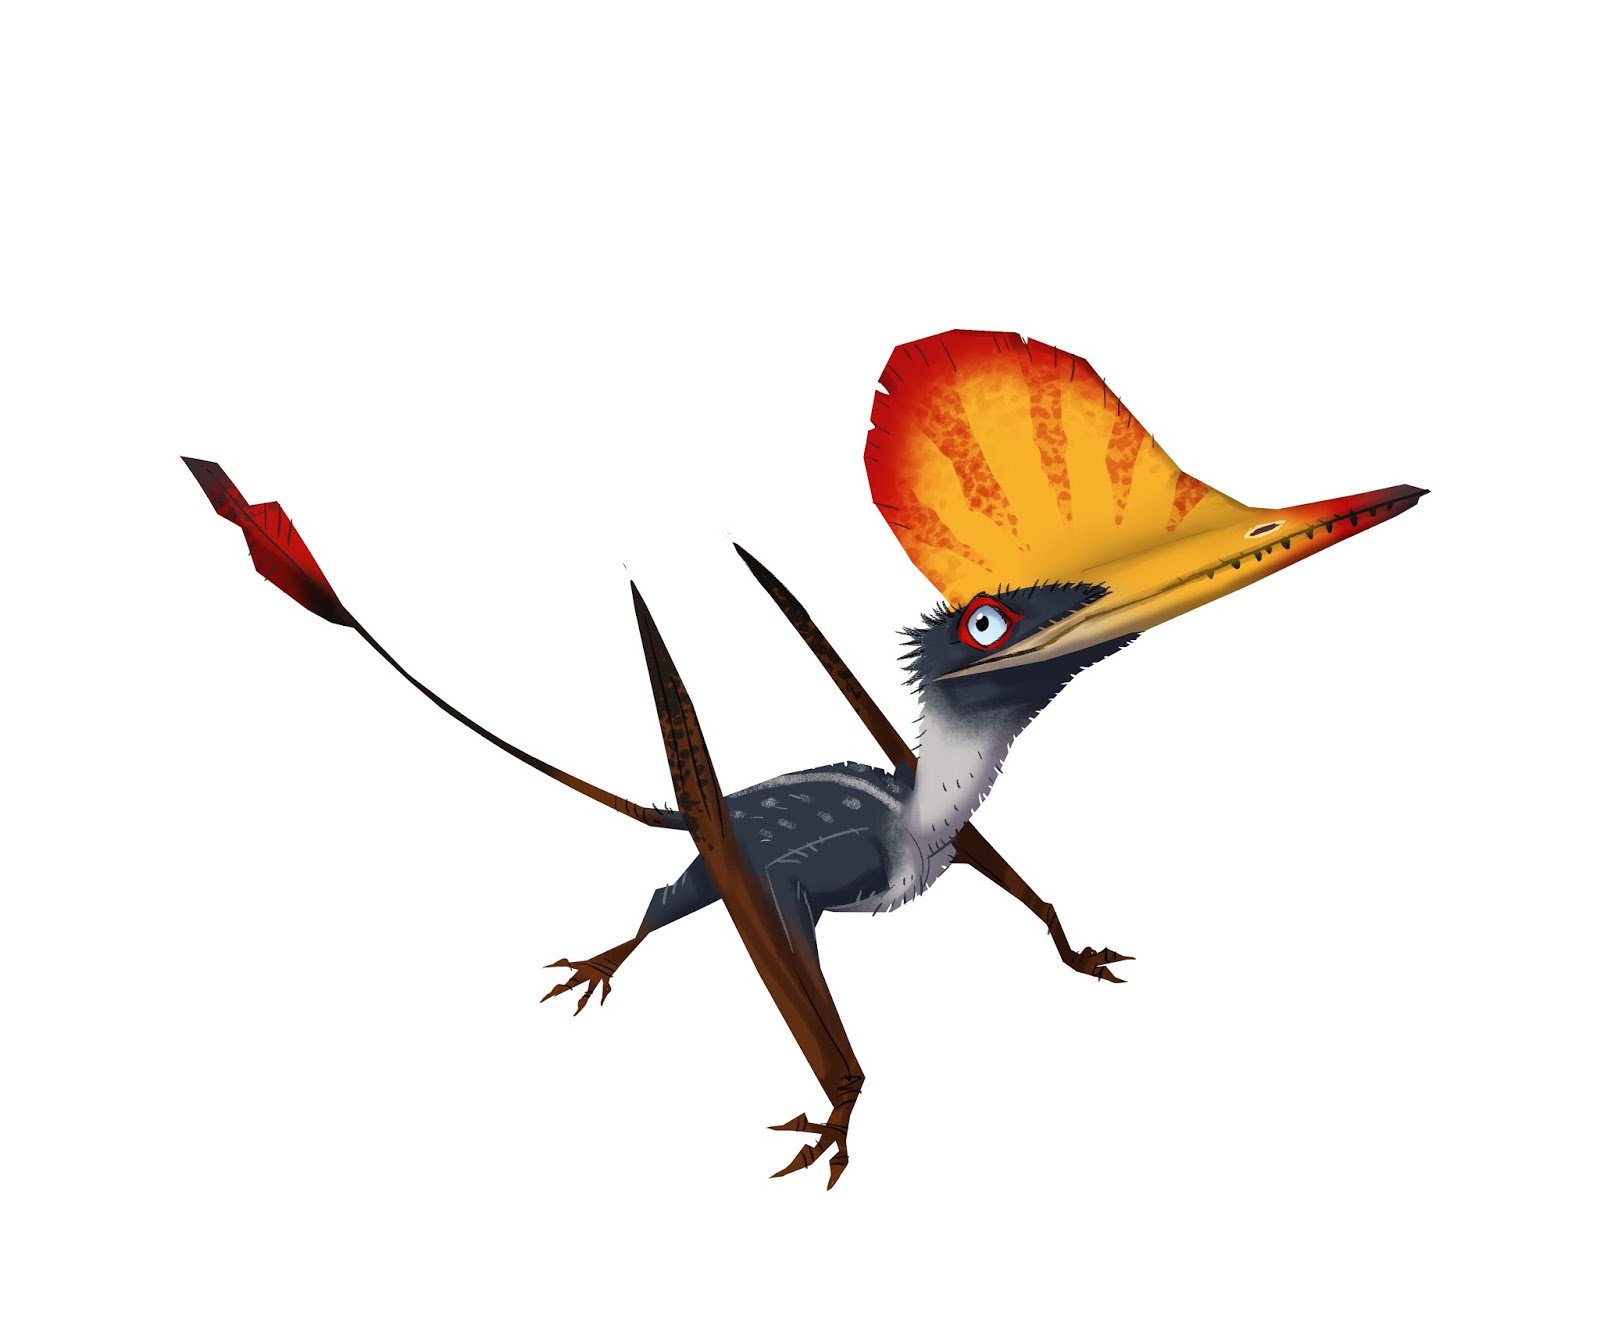
STEP EIGHT - ADDING A BIT OF TEXTURE

After that I slapped on one of my patented watercolour textures in overlay mode on top of the whole thing, which brings it all together and makes the final image feel less "computery". 

And with that my friends, we are done! 

Wukongopterus


Monday, 15 August 2016

ADDING A BIT OF TEXTURE

I often get asked how I manage to create that hand drawn look in my illustrations, even though they´re always painted in Photoshop.

One of the reasons is that the original drawing is always done by hand - you just can´t beat pencil on paper. The other reason is that I use a library of watercolour textures when I paint. These were made by splashing, dabbing, spattering and just generally messing about with earthy watercolours on standard watercolour paper, leaving them to dry and then scanning them. By combining these in different layer styles (favourites being multiply and overlay) and opacities in Photoshop one can achieve quite interesting results.

Here´s a few of these textures for your perusal. I´ll be back shortly with a more in-depth tutorial on my work process, but until then feel free to download these and try them out yourselves. Of course they´re all clickable for larger versions.


Monday, 31 August 2015

HOW TO DRAW A ZOMBIE

In anticipation of the imminent release of my third picture-book "Första Odjursboken" (My First Book of Beasts) I thought a recap of what preceded it might be in order. I´d also like to share a little of my process when making these illustrations.

The first book in this series was "Första Monsterboken" (My First Book of Monsters) which was published a year ago.

I wanted to do a picture book for toddlers - a classic "look at the cat/cow/sun/car/whatever"-book, but with a slightly darker, humorous tone, presenting classic movie monsters instead. The idea was that a one year old would find a cartoony vampire just as interesting as a picture of a teddy bear and it´s probably a heck of a lot more fun to look at for the grownup.

I also wrote some silly rhymes to go along with the monsters just for fun which turned out to be unexpectedly appreciated, though some critics found them rather beyond the grasp of an average toddler (which indeed was correct and sort of the point - they were meant for the adult reader).

As this is a Swedish book the rhymes are in the Swedish language. I won´t even try to translate them...


ZOMBIE
Zombien raglar genom stan / som en hjärndöd huligan

FRANKENSTEINS MONSTER
Monstret misstas lätt för skurk / har sin hjärna i en burk

VAMPYR
Vampyren flaxar runt i natten / sörplar hellre blod än vatten

DRAKE
Draken den får världens fnatt / om du tjyvar av hans skatt


The first book turned out to be quite popular, and most of all I had a blast making it, so we - that is my publisher and I - decided to make another one.

As a long time amateur palaeontologist I suggested Dinosaurs. My publisher excalimed "capital idea old sport!" (or something to that effect) and half a year later "Första Dinosaurieboken" (My First Book of Dinosaurs) was published.

I tried to stay somewhat off the beaten track and introduce the children and their parents to slightly different dinos than the ever present Tyrannosaurs, Stegosaurs and Triceratopses.

GIGANOTOSAURUS

DEINONYCHUS

SUCHOMIMUS

PLATEOSAURUS


So that´s two books down, one to soon be released and I´m just about to start drawing the fourth one. I´ll keep making these as long as they let me - it´s just so much fun!

Now I´d like to leave you with a look behind the scenes. Here´s a quick tutorial on how I make these pictures:

SKETCH
I start with a quick sketch of the monster on normal A4 copy paper (I personally prefer the slightly heavier 120 g paper). I then scan this loose drawing into my computer.


I then colour the zombie in photoshop. The actual pencil sketch won´t be seen in the final image but I try to stay true to the spontaneity of the loose lines in the preliminary drawing when I do the lineart. I also choose brushes with a little texture to create "nerve" in the lines.


After this I lift the zombie drawing onto a canvas with the same dimensions as the book plus margins. I add shadows, background and tweak the proportions of the character. 


In the final stage I add texture and colour correction layers to make the image feel less "computery" and make the image pop. Then it´s time for coffee! 


So, there you have it.